Rocket Flight Stabilization Controller
Project Scope and Inspiration
The dream of space exploration has inspired countless engineers, scientists, and hobbyists. Rockets are some of the most complex vehicles due to their need to manage high-energy propulsion, maintain stability in the face of changing conditions, and achieve precise control over movement and altitude. This project is an attempt to delve into the world of rocketry by designing a compact propulsion and stabilization system, aimed at enhancing stability and control for model rockets or small experimental rockets.
The main idea was to create an integrated control unit capable of monitoring the rocket’s orientation, altitude, and acceleration while providing real-time adjustments. Through a combination of sensors, a microcontroller, data storage solutions, and actuators, this system not only captures essential flight data but also actively stabilizes the rocket during its ascent. This kind of setup could be invaluable for hobbyists and educators looking to push the boundaries of DIY aerospace projects.
Project Process: From Design to Implementation
The journey began with rigorous planning and research. I mapped out the primary functionalities the system would need, which included thrust vector control (TVC) for directional adjustments, altitude sensing, orientation monitoring, data logging, and power management. With these requirements in mind, I carefully designed the circuit schematic, ensuring that each component would interact seamlessly.
Schematic Design and Layout
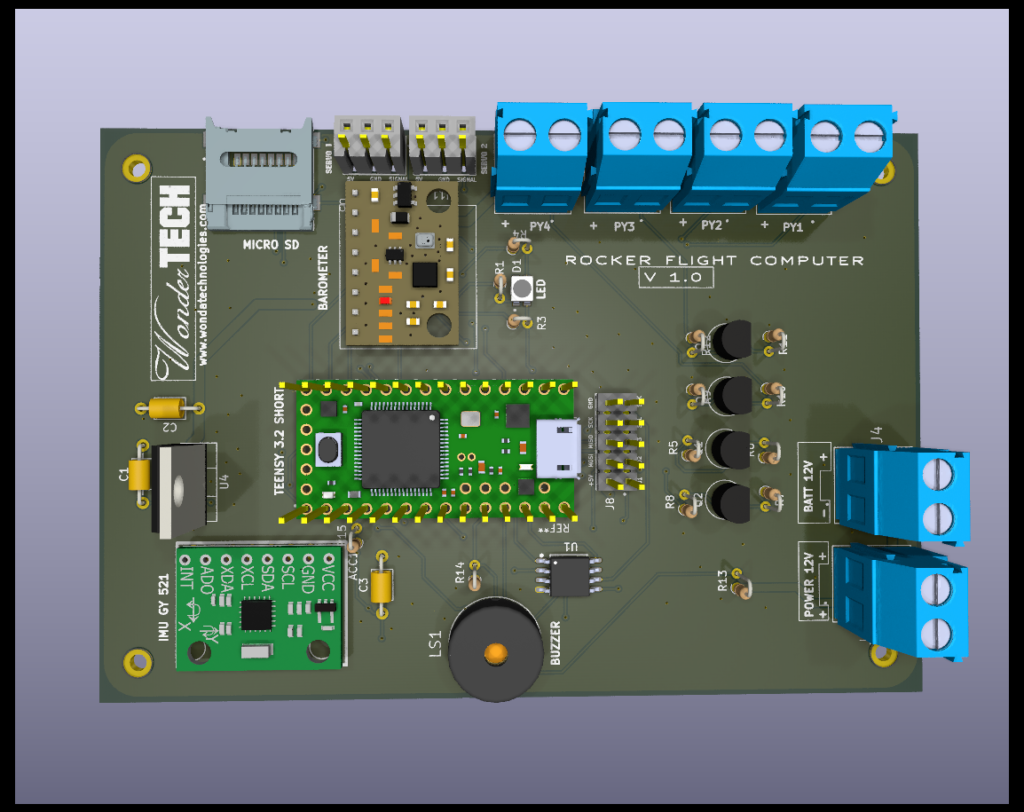
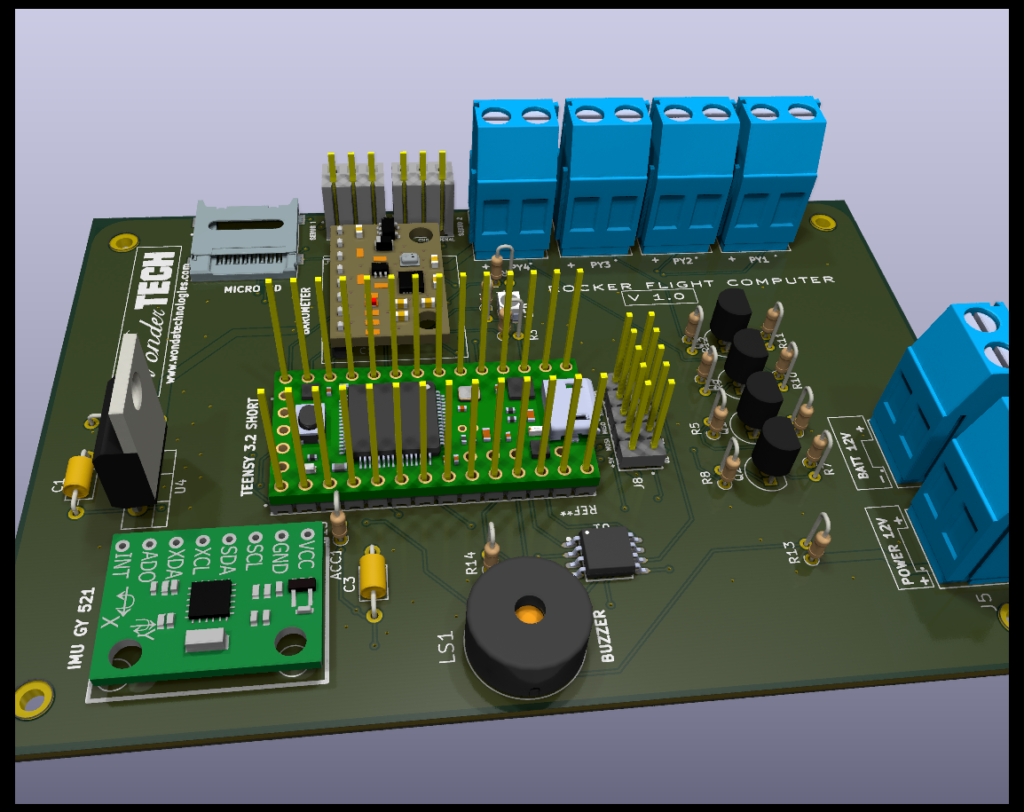
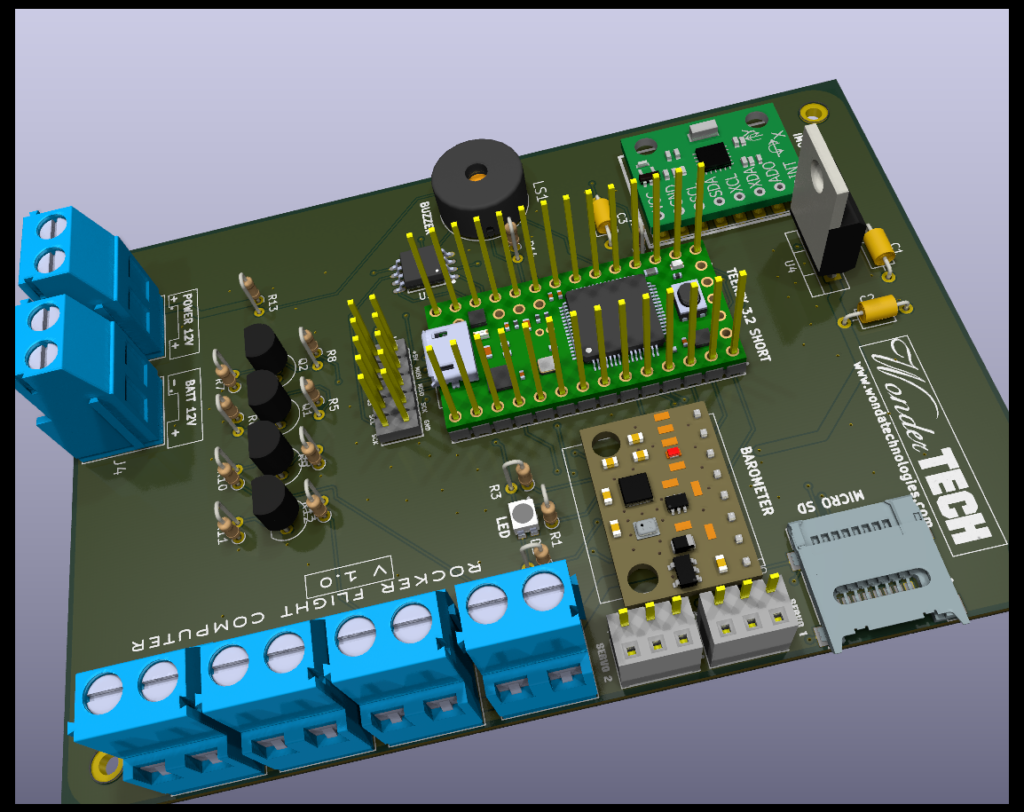
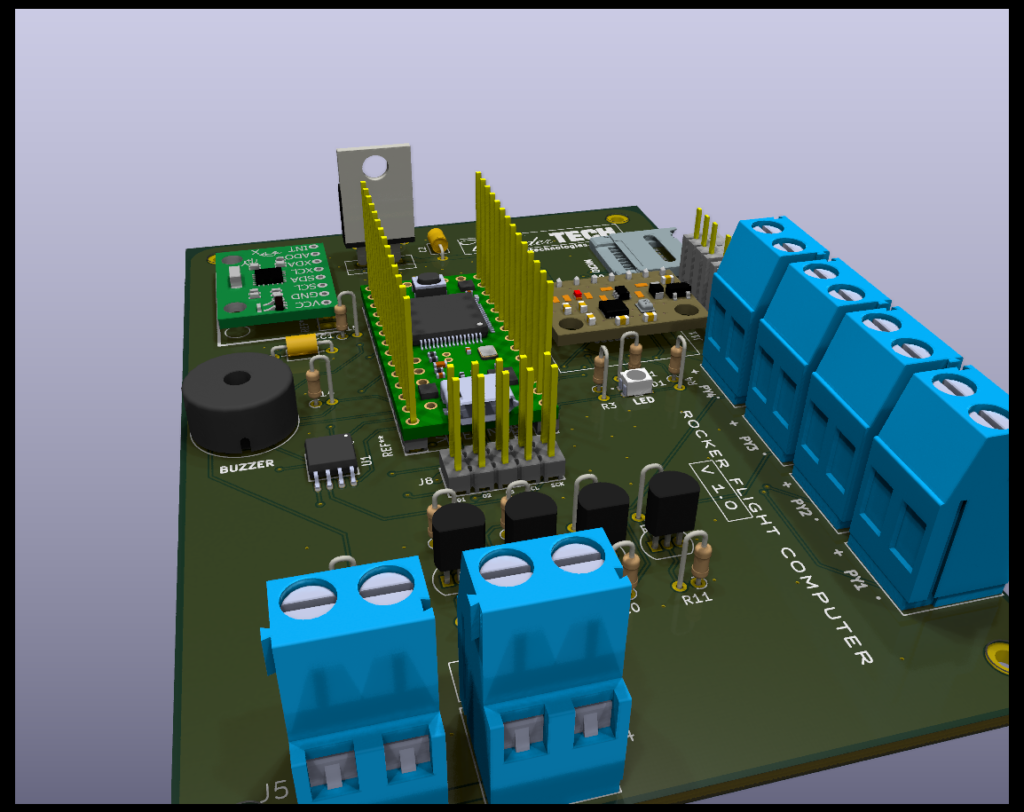
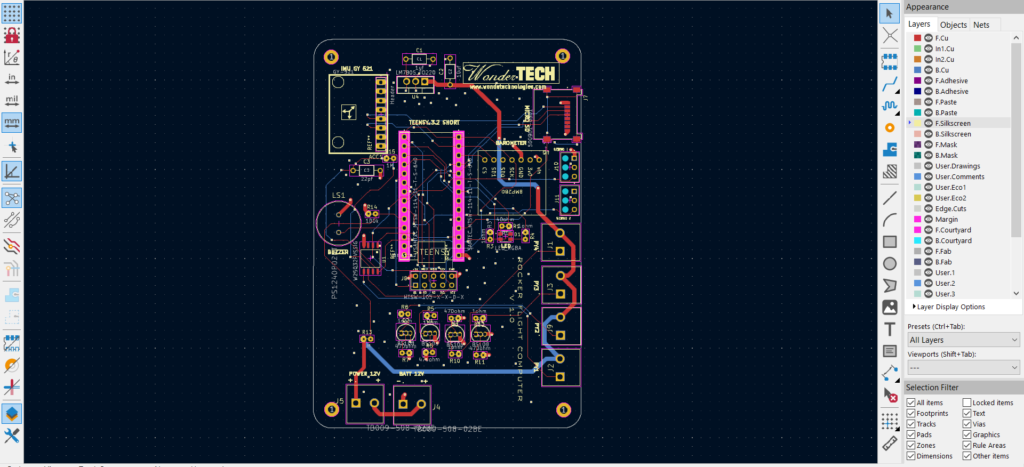
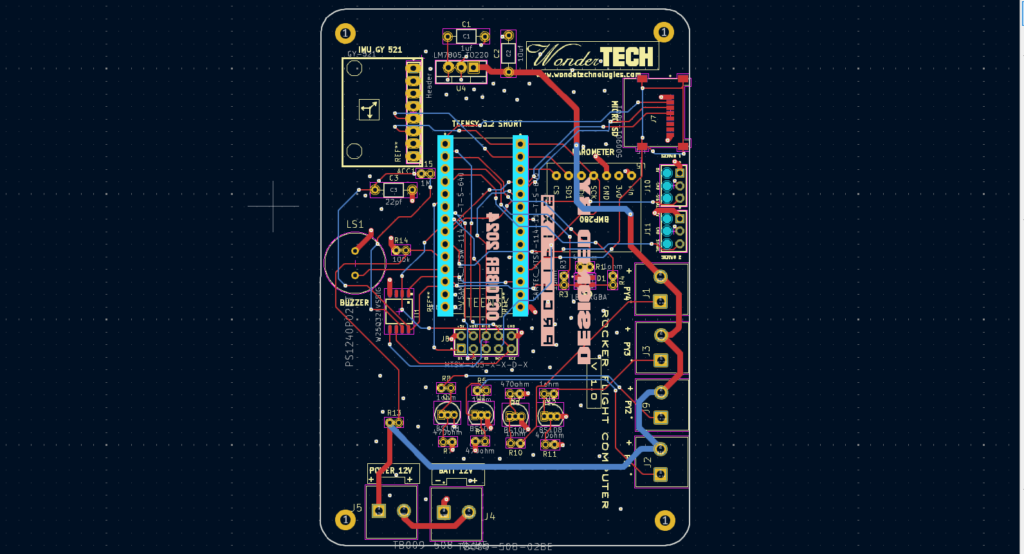
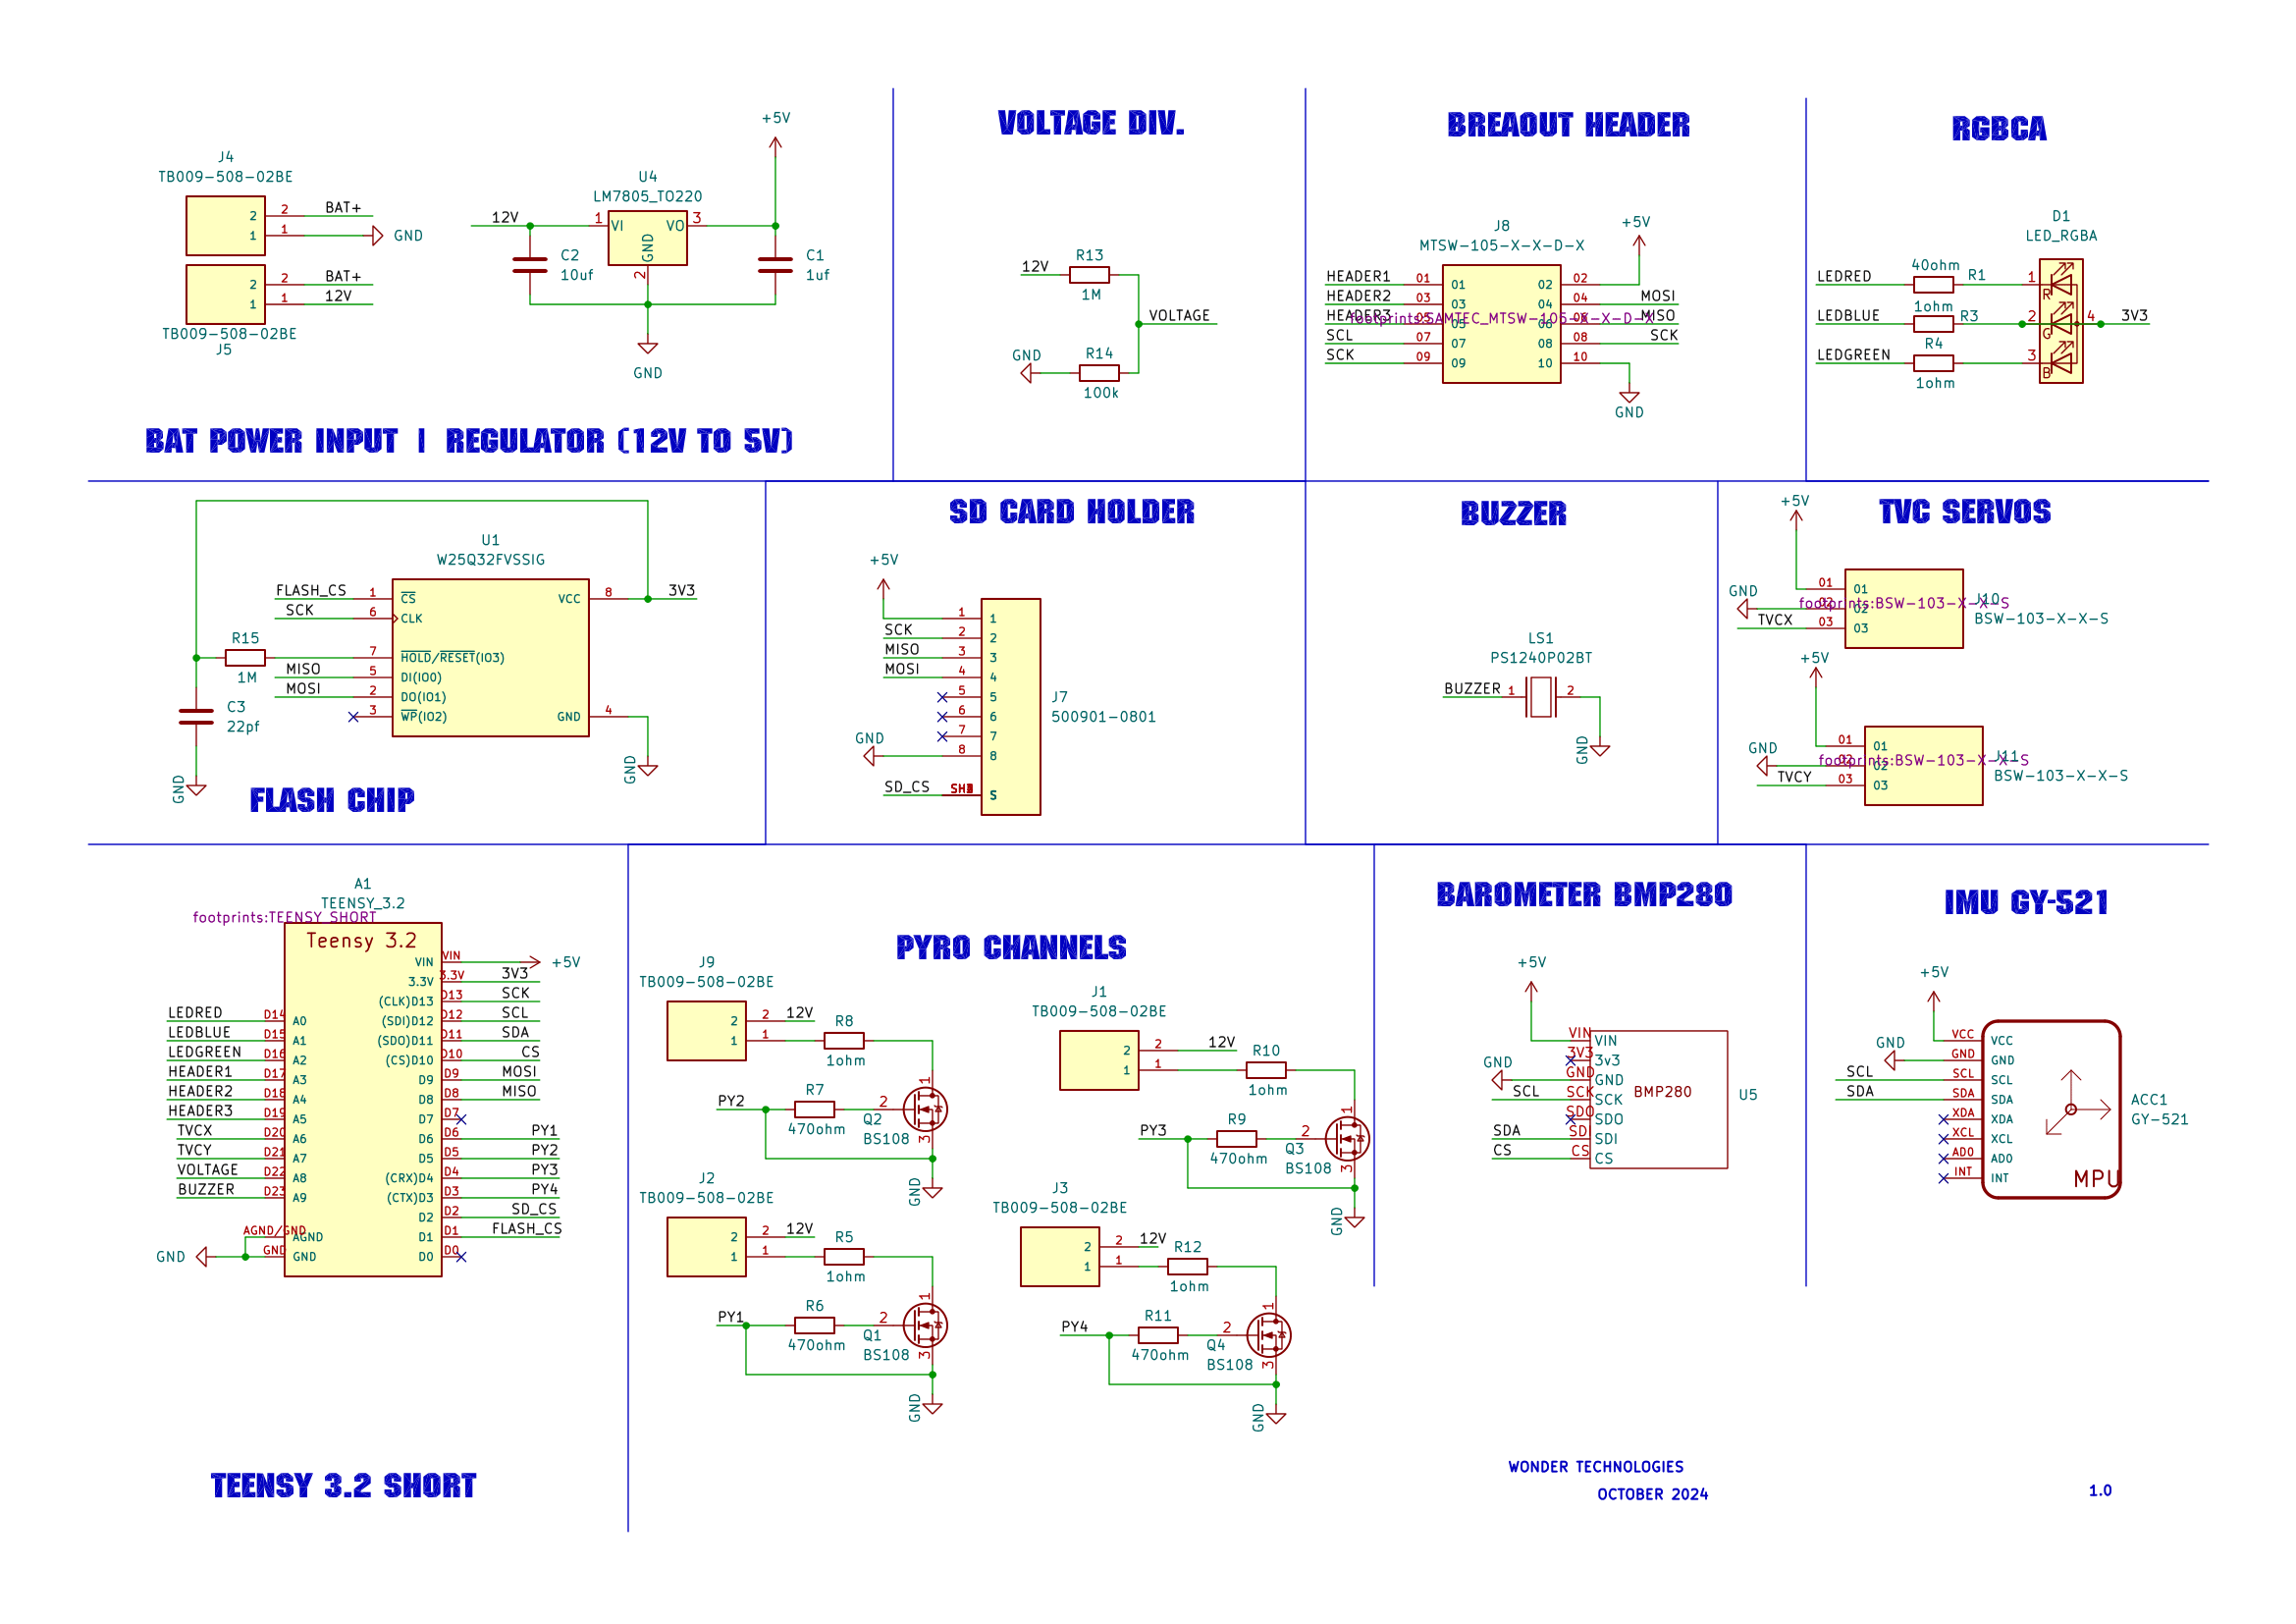
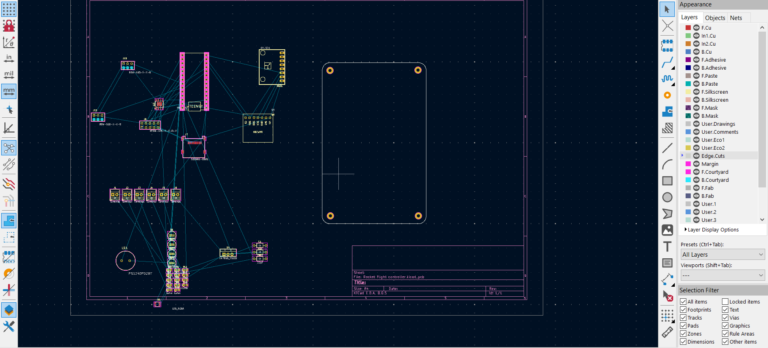
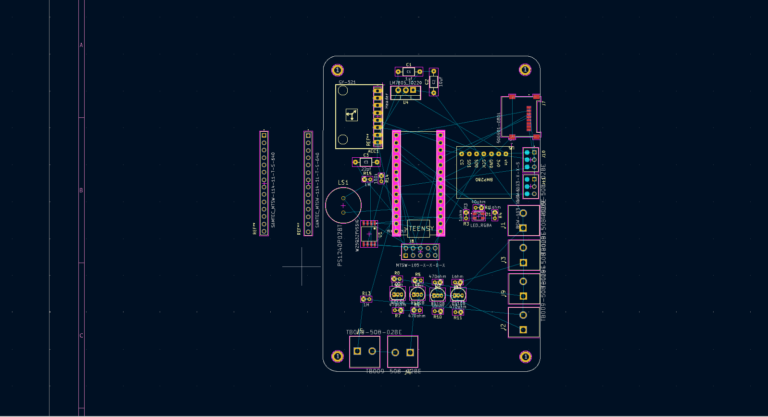
Using KiCad, I designed a detailed schematic with modular sections dedicated to each functionality. This modular approach allowed for easy troubleshooting and testing. The schematic includes sections for power regulation, the microcontroller, data storage, sensor inputs, and actuation outputs. Each of these modules was chosen to fulfill a specific function, and every interconnection was meticulously planned to prevent interference or power issues during operation.
Breadboard Prototyping
Once the schematic was completed, I moved on to prototyping. Breadboarding each module separately helped in verifying the compatibility and functionality of the individual components. For example, I tested the IMU and barometer sensors for accurate data readings, the servos for responsive thrust vector adjustments, and the data logging modules for consistent storage of telemetry data. Prototyping also allowed me to fine-tune the component parameters, ensuring optimal performance.
PCB Assembly and Integration
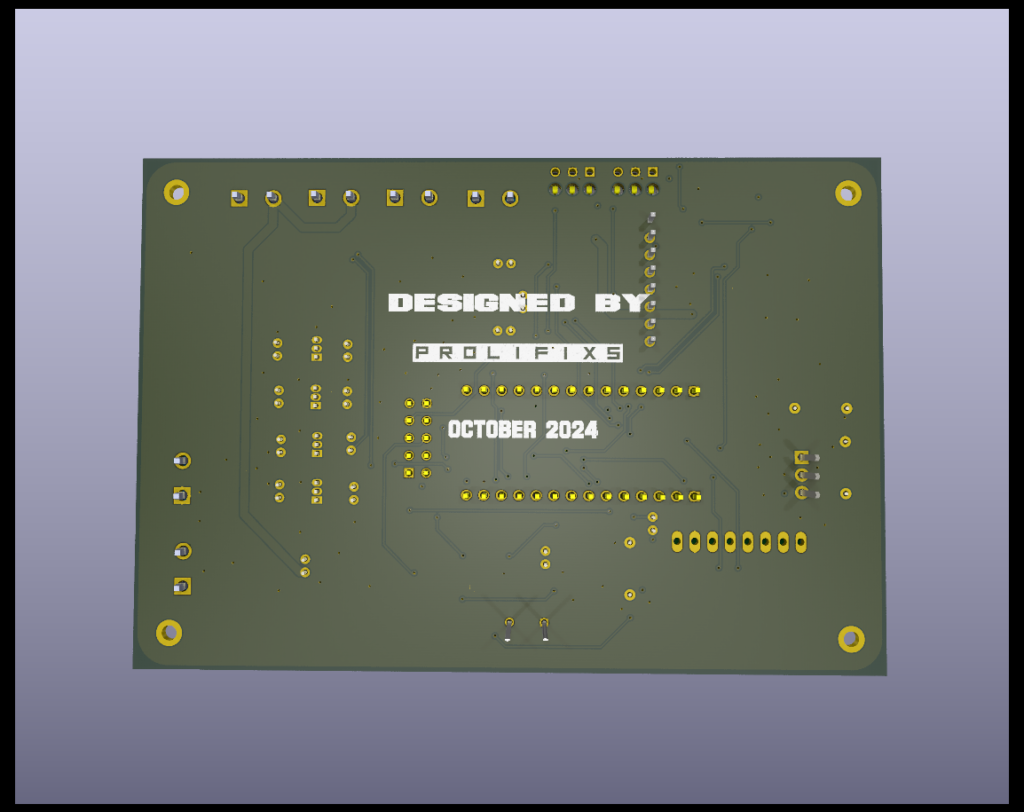
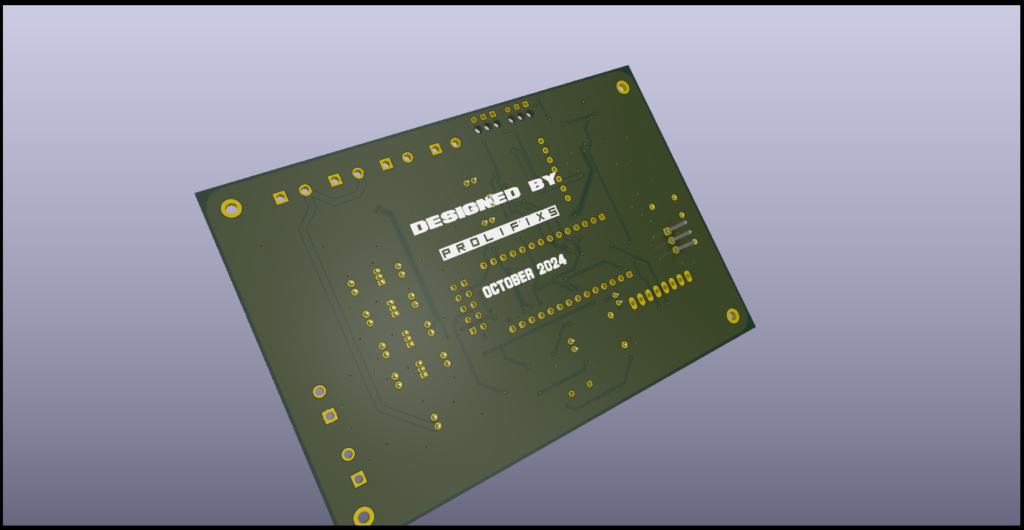
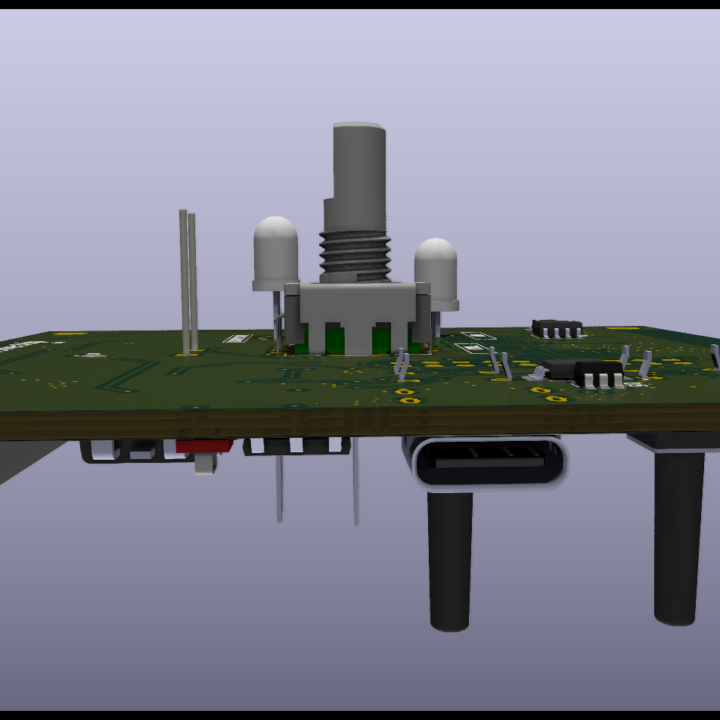
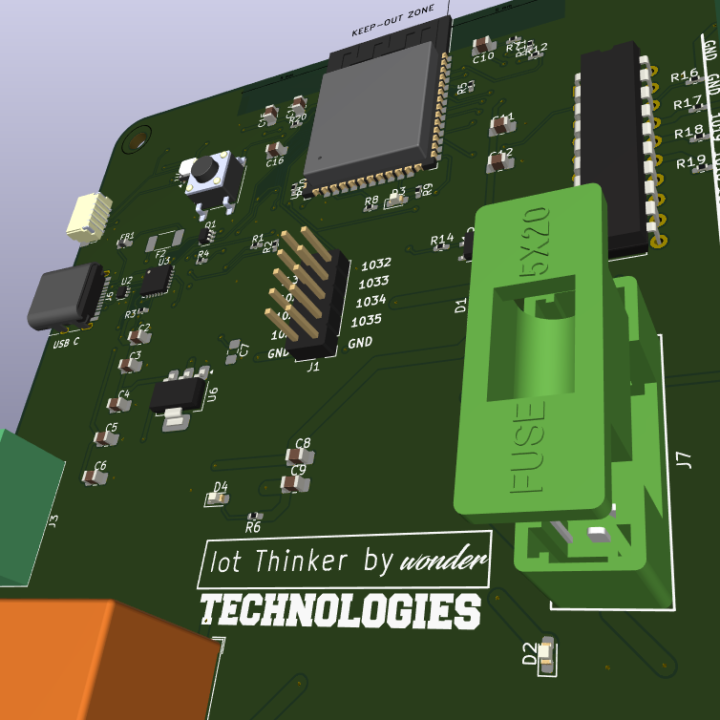
After successful prototyping, the next step was to assemble the components onto a custom PCB. With everything soldered in place, I began the integration process, which involved programming the Teensy microcontroller to interface with each sensor and actuator, as well as setting up the data logging protocols. Initial checks and power tests confirmed that the assembled system was functional, allowing me to proceed with more rigorous testing.
Components Used: The Heart of the System
This rocket control system relies on carefully chosen components, each contributing to the system’s ability to monitor, control, and stabilize.
Power Management and Regulation
- Battery Power Input and Regulator: The system is powered by a 12V source, which is stepped down to 5V using an LM7805 voltage regulator. This provides a stable power supply, essential for consistent performance of all modules.
Microcontroller
- Teensy 3.2: Serving as the brain of the system, the Teensy 3.2 microcontroller is responsible for reading sensor data, controlling the TVC servos, handling data storage, and providing ignition control. The Teensy’s speed and versatility make it an excellent choice for managing the multiple tasks required for this project.
Sensors
- IMU GY-521: This inertial measurement unit includes an accelerometer and gyroscope, providing real-time data on the rocket’s orientation and acceleration. This is critical for stabilization, as it enables the system to detect and correct deviations during flight.
- Barometer BMP280: The BMP280 measures atmospheric pressure, allowing for accurate altitude calculations. By constantly monitoring altitude, the system can adjust for changing conditions, ensuring stable and controlled ascent.
Actuators and Control Outputs
- TVC Servos: The thrust vector control (TVC) servos are the primary actuators used for stabilizing the rocket’s flight path. By adjusting the angle of thrust, the servos allow the system to make fine directional corrections, keeping the rocket on its intended trajectory.
- Pyro Channels: Four pyro channels allow for controlled ignition events, such as staging or deployment of parachutes. These channels can be triggered based on altitude, time, or other conditions, providing flexibility in controlling different stages of flight.
Data Storage and Logging
- Flash Chip (W25Q32FVSSIG): This flash memory chip stores telemetry data, such as sensor readings and servo positions, for post-flight analysis. It’s useful for capturing short-term data that may need to be analyzed quickly.
- SD Card Holder: For extended logging, the SD card holder provides a convenient way to store large volumes of data. This is particularly helpful for recording entire flight profiles, enabling detailed analysis of each mission.
Other Components
- RGBCA LEDs and Buzzer: These provide real-time feedback on the system’s status. The LEDs can indicate power status, data logging activity, or error states, while the buzzer offers audio feedback, useful for pre-launch checks or warnings.
Results and Testing: Validating the Design
After assembly, the rocket stabilization system underwent several tests to ensure functionality and performance:
Ground Testing and Calibration
The first phase involved ground testing the sensors and actuators to ensure accurate readings and responsive controls. The IMU provided reliable data on orientation, and the barometric sensor accurately measured altitude changes. The TVC servos responded smoothly to control commands, demonstrating effective stabilization potential in simulated flight conditions. This phase also allowed for calibration, ensuring that each sensor provided accurate measurements and that the servos operated within their intended range.
Data Logging Verification
With the flash memory and SD card functioning correctly, I was able to log extensive telemetry data, including orientation, altitude, and thrust vector adjustments. This data will be invaluable for analyzing flight performance and making adjustments to the control algorithms. Both storage options performed well in tests, confirming that the system could handle high-frequency data logging without issues.
Pyro Channels and Ignition Control
Testing the pyro channels was essential to ensure safe and reliable operation. Each channel was configured to trigger specific ignition events, such as the deployment of a parachute. These channels were tested with dummy loads to simulate ignition events, confirming that they could be reliably triggered by the Teensy.
LED and Buzzer Feedback
The LEDs and buzzer proved helpful for system feedback, providing real-time indicators for power status, errors, and data logging. These indicators enhance usability, especially during pre-launch checks, by giving clear visual and auditory signals about system readiness.
Challenges Faced and Lessons Learned
Developing a rocket control system is no simple task, and there were several challenges along the way. One of the main challenges was managing power requirements for the different components. Ensuring stable voltage across all modules was critical, as even minor fluctuations could lead to sensor errors or data loss.
Another challenge was calibrating the sensors, particularly the IMU, to ensure accurate orientation data. This involved refining the software to filter out noise and optimize the signal-to-noise ratio. Debugging data logging issues was also a hurdle, as writing large amounts of data at high speeds to both flash memory and SD card required efficient handling.
Through this process, I gained invaluable insights into the complexities of embedded electronics and control systems. I learned the importance of grounding, power regulation, and component placement to minimize interference and ensure consistent performance.
A Step Towards DIY Rocketry Excellence
Building a rocket propulsion and stabilization system was both challenging and rewarding. The project showcased the capabilities of a carefully designed control unit in managing complex tasks such as real-time orientation adjustment, data logging, and controlled ignition. With the combination of robust hardware and finely tuned software, the system has the potential to support various experimental rocket applications, offering stability, data collection, and control.
This project is a testament to how far DIY aerospace projects can go with the right planning, design, and testing. Whether used for educational purposes or as a foundation for further experimentation, this rocket control system brings a practical, hands-on approach to rocketry, opening up possibilities for aspiring aerospace engineers and hobbyists alike
